



Every outdoor home project has a window of time when it works best, and missing that window can mean wasted money, redone work, or damage that lingers until next year. Homeowners often tackle projects in the wrong order or at the wrong time simply because they do not know any better, not because they are careless. This guide breaks down which outdoor improvements belong in which season, so you can plan ahead instead of scrambling. With a little foresight, you can protect your home, your yard, and your budget all at once.
Spring Roof Inspections After Winter Weather

Spring is the natural checkpoint for your roof after months of snow, ice, and freezing temperatures have had their way with it. Shingles can curl, flash points can loosen, and small leaks that started in January often do not show up as stains until March or April. Walking your property line and checking the attic ceiling for discoloration is a smart first step before committing to anything bigger. If you spot soft spots, missing granules, or daylight coming through the decking, it is time to call in professional roof repair before the next rainy stretch arrives.
This is also the season when many homeowners discover their flat-roofed additions or garages need more than a patch. If your low-slope roof is nearing the end of its life, spring is an ideal time to consult a tpo roofing contractor, since the membrane installs best in moderate, dry conditions rather than the extremes of summer or winter. Waiting until peak heat can make the material harder to work with and shorten the installer’s available window.
Early Summer Deck Builds and Outdoor Living Additions

Lumber and composite materials both perform better when installed in stable, moderate temperatures, which makes late spring through early summer the sweet spot for new outdoor structures. Most pressure-treated boards and composite planks are rated to install cleanly between 50 and 85 degrees Fahrenheit, a range that this window hits far more consistently than early spring or late summer heat waves. Wood that is installed during a cold snap can shrink once temperatures rise, leaving gaps between boards that were not there on day one. The reverse problem shows up when boards are installed too tight during a hot stretch, since lumber that later contracts in cooler months can leave fasteners exposed or boards slightly warped. A custom deck build also requires dug footings and concrete curing, both of which go more smoothly when the ground is not frozen or saturated. Concrete generally needs temperatures above 50 degrees for at least several days to cure to full strength, and footings dug into muddy or partially frozen soil are more prone to shifting as the ground thaws completely. This season also gives homeowners enough runway to add pergolas, built-in seating, or outdoor kitchens before peak patio season arrives. Starting the project in May or June, rather than waiting until July, leaves a buffer for the inevitable permit delays or material backorders that can stretch a build timeline by a few extra weeks.
Starting early in the season also means you get to actually enjoy the space once it is finished, rather than watching the first barbecue weekend pass you by while contractors finish the railing. A deck or patio build typically takes two to four weeks depending on size and materials, so breaking ground in April or early May puts you well within reach of a Memorial Day cookout instead of a Labor Day one. Permitting offices tend to be less backed up in spring too, which can shave real time off your project timeline. Many municipalities see a surge of applications in June and July once homeowners are already daydreaming about summer, so submitting in late winter or early spring often means a faster review and fewer back-and-forth requests for revisions. This timing also gives you breathing room to deal with the unexpected. If an inspector flags a footing depth issue or the lumber supplier is out of your chosen decking material, you still have weeks of good weather left to sort it out rather than scrambling before a holiday deadline. Early-season builds also let you schedule add-ons like pergolas, built-in seating, or outdoor kitchens as a second phase without losing the whole summer to construction dust. Contractors are generally easier to book in April and May as well, before their calendars fill up with the rush of last-minute summer requests.
- Confirm your local permit requirements before materials are ordered, since most decks over 30 inches high or attached to the house need one
- Ask about footing depth requirements for your specific frost line — often 36 to 48 inches in colder regions — to prevent heaving
- Choose decking material based on your climate’s humidity and sun exposure, weighing composite for low maintenance against cedar or pressure-treated wood for cost
- Factor in ventilation beneath the deck to reduce moisture buildup and warping during humid summer months
- Plan railing and stair placement around how you actually use the yard, such as proximity to a grill, fire pit, or garden path
- Consider shade structures like pergolas early in the design so posts and footings are planned together, not added later
Midsummer Cooling System Upgrades and Tune-Ups
By the time July heat sets in, any weaknesses in your home’s cooling system become impossible to ignore. Units that struggled quietly in May tend to fail outright during the hottest stretch of summer, often during a heat wave when every other AC in the neighborhood is also maxed out. That’s also when contractors are busiest and least able to offer same-day help, leaving you with a multi-day wait and a house climbing past 85 degrees. Scheduling AC installation in late spring instead of waiting for a breakdown gives you more flexibility on unit selection and installation timing. You’ll have time to compare SEER ratings, get multiple quotes, and choose a properly sized unit rather than accepting whatever’s in stock during an emergency replacement. A mismatched or oversized system installed in a rush can run less efficiently for years afterward. Spring scheduling also gives you room for the smaller tune-up tasks that matter once summer arrives: replacing air filters, cleaning condenser coils, checking refrigerant levels, and sealing leaky ductwork. These steps alone can improve cooling efficiency by 10-15% and reduce the odds of a midsummer breakdown. Taking care of them before the heat peaks means your system is working with you, not against you, when temperatures hit their worst.
Routine air conditioning services booked before the seasonal rush can also catch small issues, like a struggling capacitor or low refrigerant, before they turn into a full system failure. A technician typically checks refrigerant pressure, inspects electrical connections, cleans the condenser coils, and tests the thermostat’s calibration, any one of which can quietly sabotage efficiency if left unaddressed. Dirty coils alone can reduce cooling capacity by 30 percent or more, forcing the system to run longer and harder just to hit the same temperature. A technician who inspects your unit in April or May has time to order parts and schedule follow-up visits without the pressure of a 95 degree forecast. Compressors, capacitors, and specialty blower motors sometimes take a week or two to arrive, especially for older or less common unit models, so early diagnosis avoids the scramble of a July emergency order. Booking in the shoulder season also tends to mean more flexible appointment times, since HVAC companies aren’t yet buried in same-day breakdown calls. Think of early-season maintenance as cheap insurance against the least convenient kind of breakdown. A $100 to $200 tune-up is a far better outcome than a $3,000 compressor replacement during a heat wave, both financially and in terms of comfort. It also tends to extend the overall lifespan of the unit, since a system that isn’t straining against dirty filters or low refrigerant simply wears out more slowly.
Summer Yard Drainage and Water Delivery Projects
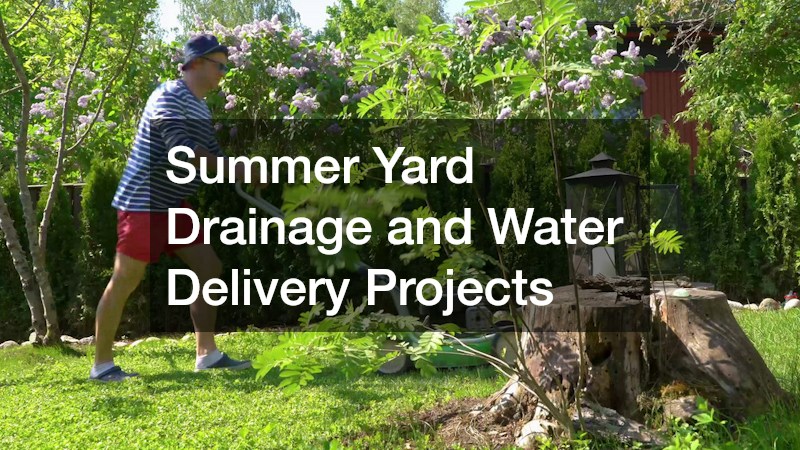
Hot, dry stretches put real stress on lawns and garden beds, which is exactly why summer is the season to evaluate how water actually moves across your property. An inefficient irrigation setup wastes water and money, often watering driveways and sidewalks as thoroughly as it waters your grass. A single broken sprinkler head can waste thousands of gallons over a season, and that waste shows up directly on your water bill. Walking your zones during a watering cycle will show you overlap, dry patches, and heads that need adjusting or replacing. Pay attention to brown patches that appear in the same spot every week, pooling water near the foundation, and spray patterns that hit pavement instead of plants. These are the telltale signs of a system that’s working against you rather than for you. While you’re out there, check your soil’s drainage by digging a small test hole and timing how long it takes water to disappear. If water sits for more than a few hours, you may be dealing with compacted soil or poor grading that no amount of irrigation tweaking will fix. Addressing grading issues now, before fall rains arrive, prevents soggy lawns and foundation problems down the road. It’s also worth testing your irrigation timer settings against the actual weather, since many systems run on outdated schedules that overwater during cooler spells or underwater during heat waves. Smart controllers that adjust based on rainfall and temperature can cut water use significantly while keeping your lawn healthier through the hottest months.
Because soil has fully thawed and settled by summer, this is also a reliable time to install new supply lines without worrying about frost heave shifting things later. Trenches dug in summer hold their shape better, and PVC fittings cure and seal more predictably in warm, dry conditions than they do in the damp chill of early spring. This is also when most irrigation suppliers have full inventory, so you are less likely to get stuck waiting on backordered valves or sprinkler heads. If you are noticing certain areas of the lawn browning faster than others, it is worth having the system evaluated before investing in new landscaping. A patchy brown patch that follows a straight line often points to a cracked lateral pipe, while scattered dead spots usually mean a clogged or misaligned sprinkler head. Running a quick zone-by-zone check — watching each station cycle for a full two minutes — will often reveal low pressure, blocked nozzles, or heads sunk below grade long before the damage spreads further. Fixing delivery problems first saves you from replanting the same bed twice. It also pays to check your controller’s schedule at this point, since most residential systems lose efficiency when they’re still running on settings from two or three summers ago. A quick adjustment to run times, paired with a rain sensor if you don’t already have one, can cut water use by 20 percent or more while keeping the yard looking consistent.
Late Summer Mulching and Garden Bed Refresh
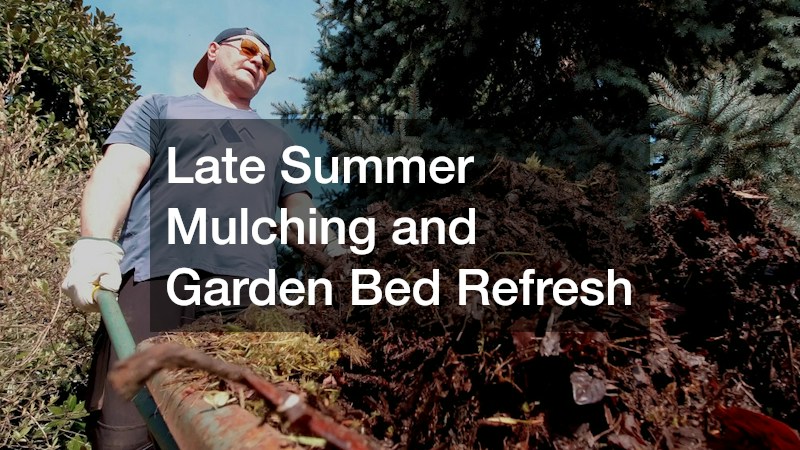
Garden beds benefit from a layer of mulch applied in late summer, right as the harshest heat starts to ease but before fall planting begins in earnest. A fresh layer helps retain soil moisture during the last hot weeks, suppresses weeds trying to get a final foothold, and begins breaking down just in time to enrich the soil for autumn planting. Not all mulch behaves the same way, so matching material to purpose matters. Shredded bark or wood chips work well around perennials and shrubs, breaking down slowly over a full season. Straw or shredded leaves are better suited to vegetable beds, since they decompose faster and add organic matter right when fall crops need it. Compost-based mulch splits the difference, feeding the soil while still offering modest weed suppression. Two to three inches is typically enough; piling it too high against trunks and stems can trap moisture and invite rot. Keep mulch pulled back an inch or two from the base of any woody plant to avoid creating a haven for pests and fungal disease. It’s also worth checking soil moisture before applying — mulching over bone-dry soil just locks in the dryness, so a deep watering beforehand makes the layer far more effective.
- Pull existing weeds before adding a new layer rather than covering them, since burying them just delays regrowth
- Keep mulch a few inches back from tree trunks and siding to prevent rot and pest issues
- Choose shredded hardwood for slopes since it knots together and resists washout better than loose bark nuggets
- Aim for a 2-3 inch mulch layer; anything deeper can suffocate roots and trap excess moisture
- Refresh only the top layer each season rather than removing old mulch entirely, scratching it up first so water penetrates
- Water beds thoroughly before mulching to lock in late-summer soil moisture ahead of cooler weather
Fall Siding Repairs Before Winter Moisture Arrives
Autumn, with its milder temperatures and lower humidity, is one of the best times to address exterior siding before winter moisture finds every gap and crack. Cracked or warped panels left unaddressed over winter often let water behind the siding, where it can freeze, expand, and cause far more damage than the original crack. Reputable siding contractors tend to have more schedule flexibility in fall compared to the spring rush, which also often means better pricing and faster turnaround.
This is also a good time to check caulking around windows and doors, since gaps here work hand in hand with siding to keep a home weather-tight. A thorough fall inspection catches small problems while they are still small, rather than letting a hidden leak reveal itself as a bigger issue by February.
Fall Septic System Service Before Ground Freeze
Septic systems depend on soil conditions and ground temperature to function properly, which makes fall an excellent time for maintenance before everything freezes solid. Scheduling septic pumping in autumn clears out accumulated solids before winter usage patterns put extra strain on the system, particularly if you host holiday guests. Once the ground freezes, accessing the tank becomes far more difficult and sometimes requires special equipment just to reach the lid.
Signs that your system needs attention sooner rather than later include slow drains throughout the house, gurgling noises in plumbing, or unusually lush patches of grass over the drain field. Catching these signs in October is far preferable to discovering a backup during a January cold snap. A well-timed pump-out is one of the more affordable ways to extend the life of an expensive underground system.
Fall and Winter Checks for Buried Utility Systems
Properties on shared or community systems sometimes rely on a lift station to move wastewater uphill or over long distances, and these mechanical systems deserve attention before winter weather makes repairs harder. A failing pump or clogged float switch can cause backups that are both messy and expensive, and cold weather only complicates the repair process. If you notice alarms sounding, slow drainage across multiple fixtures, or unusual odors near the station, scheduling lift station repair before the ground freezes is the smarter move.
Utility companies and HOAs that manage these systems typically schedule routine inspections in fall for this exact reason. Homeowners connected to such systems should familiarize themselves with warning signs and know who to call, since delays during winter can mean waiting for equipment that is harder to mobilize in freezing conditions.
Matching each outdoor project to its ideal season takes a little planning, but it pays off in fewer surprises, lower repair bills, and work that actually lasts. Start by walking your property this week and noting what needs attention now versus what can wait for the right window later in the year. A simple seasonal checklist, revisited every few months, will keep small issues from turning into expensive emergencies.