



Purchasing a new property is an incredible milestone, marking the beginning of a fresh chapter filled with endless possibilities and exciting memories waiting to be made. However, once the initial thrill of the purchase begins to settle, the reality of ownership sets in. Walking into an empty space that requires work can quickly transition your feelings from pure excitement to sudden overwhelm. It is entirely normal to feel a bit daunted by the sheer amount of work required to transform a blank, perhaps slightly weathered canvas into a comfortable, safe, and modern sanctuary tailored specifically to your family’s unique needs.
Transitioning from the purchasing stage to the maintenance, repair, and transformation stages requires a strategic approach. Without a solid plan, you might find yourself juggling too many projects at once, draining your budget, and experiencing unnecessary stress. The secret to a successful property transformation is prioritizing your upgrades and tackling them in a logical sequence. By breaking down the massive project of revitalizing your property into manageable, actionable steps, you can protect your financial investment while simultaneously elevating your daily living experience. This comprehensive guide will walk you through a detailed, step-by-step roadmap to effectively prioritize your upgrades, handle necessary repairs, and manage professional trades to bring your ultimate vision to life.
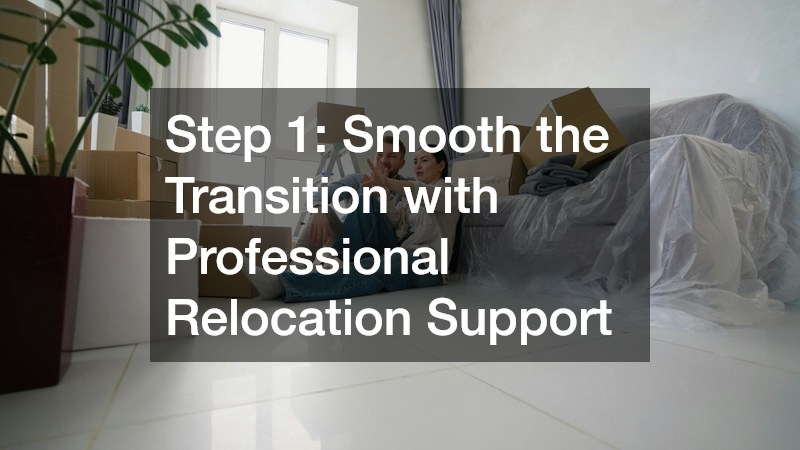
Step 1: Smooth the Transition with Professional Relocation Support
Before any actual construction, painting, or heavy cleaning can begin, you must successfully navigate the logistical hurdle of transferring your life from one location to another. The process of packing up years of belongings, transporting them safely, and unloading them into a fresh space is notoriously stressful. Proper planning during this phase is essential because it directly impacts the condition of your new property. A chaotic, disorganized relocation often results in scuffed walls, scratched hardwood floors, and damaged door frames before you have even unpacked your first box.
To prevent unnecessary damage to your freshly acquired property, preparation and efficiency are absolutely paramount. Planning your timeline weeks in advance allows you to declutter and organize, ensuring you are not bringing unwanted items into your fresh space. Furthermore, relying on experienced local movers can drastically reduce the physical burden and the risk of property damage. Professionals possess the proper equipment, such as floor runners, moving blankets, and appliance dollies, to maneuver heavy, awkward furniture through tight hallways without leaving a single mark.
-
Strategic Packing and Labeling: Clearly label every box not just with its contents, but with its designated room in the new house. This allows anyone carrying boxes to place them exactly where they need to go, minimizing foot traffic and reducing the chances of accidental damage to the home’s interior finishes.
-
Prioritize the Essentials: Pack a dedicated “first-week” box containing crucial items like toiletries, basic cookware, a coffee maker, and comfortable clothing. Having these items immediately accessible prevents you from frantically tearing through boxes and creating a chaotic mess on your first night.
-
Utilize Comprehensive Support: Opting for full-scale moving services that include packing and unpacking can save you days of exhausting labor. This allows you to focus your energy on inspecting the home, coordinating initial repairs, and visualizing your upcoming renovation projects rather than exhausting yourself with heavy lifting.
Step 2: Clear Out Deep Dirt and Refresh Interior Surfaces
Once the physical relocation is complete, the next logical step is to address the cleanliness of your environment. Even if the previous occupants left the property looking reasonably tidy, surface-level tidiness often masks deep-seated dirt, hidden allergens, and lingering odors. When a house sits empty, dust settles thickly on baseboards, inside air ducts, and on top of ceiling fans. More importantly, the soft surfaces of the home hold onto the microscopic remnants of the past inhabitants, which can negatively affect your indoor air quality and overall comfort.
It is highly recommended to perform a massive, deep clean before you start unrolling rugs or assembling large pieces of furniture. It is much easier to sanitize a room when it is completely empty. While some folks prefer to handle the cleaning before they officially move in, coordinating this can sometimes be tricky depending on the schedules of the local moving companies you partnered with for the transition. Regardless of the exact timing, prioritizing the eradication of built-in allergens, pet dander, and ground-in dirt is crucial for creating a healthy, breathable environment for your family.
-
Sanitize Hard Surfaces: Wipe down all kitchen and bathroom cabinets, both inside and out. Disinfect countertops, scrub the grout in the bathrooms, and meticulously clean all light switches, doorknobs, and window ledges where grime naturally accumulates over the years.
-
Revitalize Soft Flooring: Vacuuming alone cannot remove the deeply embedded dirt and biological contaminants trapped beneath the fibers of soft flooring. Hiring professional carpet cleaning services utilizes industrial-grade hot water extraction to pull out years of hidden grime, significantly extending the life of the flooring and instantly refreshing the room’s scent.
-
HVAC System Maintenance: Change all the air filters immediately upon taking possession of the property. If the house has an older HVAC system, consider having the ductwork professionally blown out to prevent the continuous circulation of old dust and debris throughout your freshly cleaned living spaces.
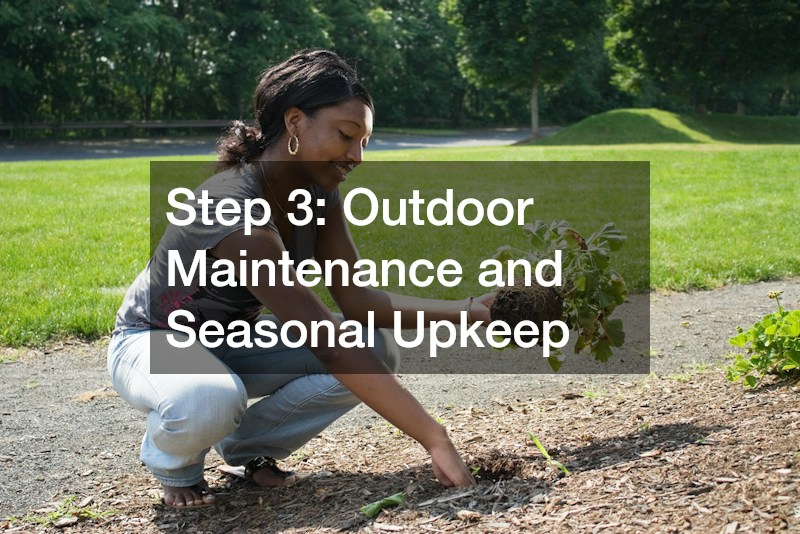
Step 3: Outdoor Maintenance and Seasonal Upkeep
While it is easy to become entirely consumed by the interior of your property, the exterior demands equal attention. Your outdoor spaces, including the front yard, back patio, and any recreational water features, contribute significantly to the overall aesthetic appeal and functional enjoyment of your property. Neglected landscaping can lead to overgrown tree roots threatening your foundation, while unkempt patios can become slippery hazards due to moss and algae buildup. Assessing these exterior features immediately upon move-in allows you to establish a baseline for maintenance.
Creating an outdoor oasis requires ongoing diligence. If your property includes water amenities, the maintenance requirements increase substantially. Unbalanced water chemistry can lead to severe algae blooms, corrosive damage to internal pumps, and unsanitary swimming conditions. Proper filtration, regular skimming, and precise chemical balancing are necessary to keep the water crystal clear and safe for your family and guests.
-
Assess and Trim Landscaping: Inspect all trees and large shrubs near the structure. Trim back any branches that are touching the roof or siding to prevent moisture transfer and to keep pests from easily accessing your attic space.
-
Hardscape Rejuvenation: Power wash your driveway, walkways, and backyard patios. Removing layers of dirt, oil stains, and organic growth not only makes these surfaces look brand new but also greatly improves traction, reducing the risk of slip-and-fall accidents.
-
Water Feature Maintenance: If your backyard includes a swimming area, establishing a strict maintenance routine is non-negotiable. Regular pool cleaning ensures that the skimmer baskets are free of debris, the filters are operating efficiently, and the chlorine and pH levels remain perfectly balanced to prevent the growth of harmful bacteria and algae.
Step 4: Emergency Mitigation and Moisture Prevention
One of the most critical aspects of revitalizing a property is looking beyond the cosmetic flaws and identifying potential hidden hazards. Aesthetic issues are easy to spot, but structural decay caused by long-term moisture intrusion or hidden damage from past emergencies can be disastrous if left unaddressed. Water is a home’s greatest enemy, capable of rotting wood framing, destroying drywall, and creating the perfect breeding ground for toxic black mold.
When inspecting your new property, you must be vigilant in looking for signs of past or present moisture issues. Look for water stains on ceilings, bubbling paint near baseboards, or a distinct musty odor in basements and crawlspaces. Furthermore, if the property has a history of electrical fires or kitchen mishaps, lingering structural weaknesses or smoke odors might still be present behind the drywall. Addressing these unseen hazards with a rapid response is the only way to prevent minor issues from snowballing into catastrophic structural failures.
-
Vigilant Inspections: Check under all sinks for slow drips, inspect the water heater for rust or pooling water, and examine the attic for signs of roof leaks. Catching a small drip early can save you thousands of dollars in structural repairs.
-
Professional Remediation: If you discover significant mold growth, extensive rot, or lingering smoke odors from past incidents, do not attempt to fix it yourself. Engaging experts in water and fire damage restoration guarantees that the affected areas are safely dried out, structurally reinforced, and treated with antimicrobial agents to prevent future recurrences.
-
Implement Preventative Safeguards: Once immediate threats are neutralized, focus on long-term prevention. Ensure your gutters are clear and directing rainfall away from the foundation. Install vapor barriers in crawlspaces and consider adding smart moisture sensors in flood-prone areas like the laundry room or basement.
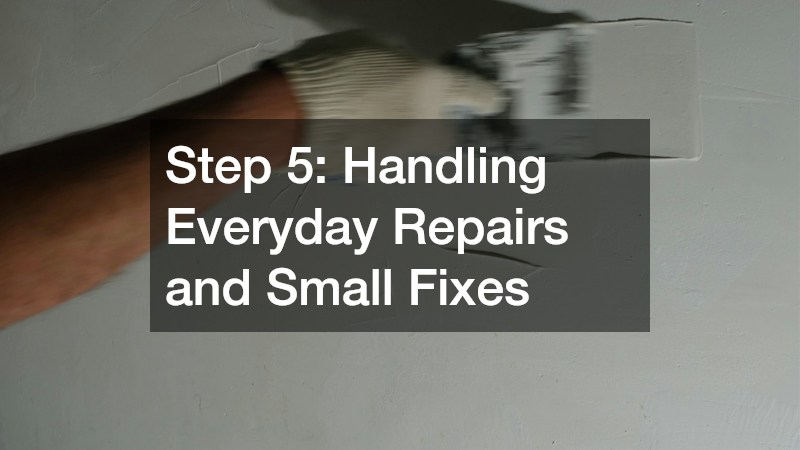
Step 5: Handling Everyday Repairs and Small Fixes
Every pre-owned property comes with a unique “punch list” of minor annoyances and small repairs. These are the little things that don’t necessarily threaten the structural integrity of the house but can be incredibly frustrating to live with on a daily basis. Think of the squeaky hinge on the primary bedroom door, the kitchen drawer that constantly sticks, the loosely hanging towel rack in the guest bathroom, or the small patch of chipped drywall in the hallway.
Tackling these small fixes early on is an excellent way to make the space feel customized and well-cared for. While you can certainly attempt to fix many of these issues on your own with a basic toolkit and a few online tutorials, your time is often better spent elsewhere during a busy transition period. Consolidating all these minor tasks into a single comprehensive list allows you to efficiently delegate the work to a skilled professional who can execute the repairs rapidly and correctly.
-
Create a Master List: Walk through every room with a notepad and write down every single defect you see, no matter how small. Check every light switch, test every outlet, open every window, and flush every toilet to ensure you catch all the minor quirks.
-
Prioritize Safety First: Organize your list by separating safety hazards from cosmetic annoyances. A loose handrail on a staircase or an exposed electrical wire should take immediate precedence over a squeaky floorboard or a misaligned cabinet door.
-
Leverage Professional Versatility: Instead of hiring a separate plumber for a leaky faucet and a separate carpenter for a sticking door, consider hiring a versatile handyman. These multi-skilled tradespeople can effectively knock out dozens of small odd jobs across various disciplines in a single afternoon, saving you both time and the cost of multiple service call fees.
Step 6: Planning Major Interior Upgrades
Once the property is clean, safe, and free of minor annoyances, you can begin to look toward major interior upgrades that will truly personalize the space. The kitchen and the bathrooms are typically the areas that offer the highest return on investment and impact your daily life the most. Upgrading these functional spaces involves reimagining layouts, updating outdated fixtures, and selecting modern materials that align with your aesthetic preferences and family lifestyle.
However, major interior upgrades are complex undertakings that require careful planning, strict budgeting, and a deep understanding of building codes. Tearing out cabinets, relocating plumbing lines, and upgrading electrical panels are not weekend DIY projects. To ensure these upgrades are executed flawlessly and add true property equity, you must work alongside licensed professionals who can navigate the complexities of permits, material sourcing, and structural adjustments.
-
Design for Functionality: Before selecting tile colors or cabinet hardware, focus on the layout. Ensure your kitchen design implements the classic “work triangle” between the stove, sink, and refrigerator. In bathrooms, prioritize durable, water-resistant materials and adequate ventilation to prevent future moisture issues.
-
Establish a Realistic Budget: Interior upgrades almost always cost more than initially anticipated. Set a firm baseline budget, but make sure to include a contingency fund of at least fifteen to twenty percent to cover unforeseen issues like hidden water damage behind old shower tiles or outdated wiring inside the walls.
-
Collaborate with Experts: To manage the moving pieces of a significant kitchen or bath overhaul, partner with a reputable local remodeling contractor. These professionals oversee the entire project schedule, coordinate with specialized subcontractors like electricians and plumbers, and ensure that all work meets municipal building codes and passes required inspections.

Step 7: Managing Full-Scale Home Renovations
For some ambitious buyers, fixing up a property goes far beyond updating a single bathroom or kitchen. Sometimes, achieving your dream layout requires a full-scale transformation. This might involve knocking down load-bearing walls to create a modern open-concept living area, building a brand-new primary suite addition, or completely gutting the interior down to the studs to reconfigure the entire floor plan. These massive structural changes have the power to completely redefine the flow, function, and aesthetic of the property.
Managing a project of this magnitude requires exceptional organization and a high tolerance for disruption. A whole-house transformation takes months to complete and involves coordinating dozens of different tradespeople, navigating complex zoning laws, and making hundreds of granular design decisions. Because of the sheer scope of work, attempting to act as your own general contractor for a full-scale overhaul is highly discouraged unless you have extensive professional experience in the construction industry.
-
Architectural Planning: Massive structural changes require detailed architectural blueprints and engineering approvals. You must ensure that removing walls will not compromise the structural integrity of the roof or the floors above.
-
Prepare for Disruption: If you are living in the property during a massive structural overhaul, be prepared for dust, noise, and significant inconveniences. Set up a temporary kitchenette and designate dust-free safe zones for your family to retreat to at the end of the day.
-
Engage Top-Tier Professionals: For comprehensive, property-wide transformations, it is vital to secure the services of established home renovation companies. These large-scale firms have the vast resources, dedicated project managers, and deep networks of reliable subcontractors necessary to keep a massive, multi-month project running on schedule and within the agreed-upon budget.
Step 8: Boosting Energy Efficiency and Curb Appeal
While interior transformations improve your daily living experience, you must not neglect the exterior envelope of your property. The exterior acts as the primary defense against the elements, and upgrading it not only boosts your property’s curb appeal but drastically improves its overall energy efficiency. Outdated exterior materials, poor insulation, and drafty glass fixtures are the leading culprits behind uncomfortably cold winters, sweltering summers, and exorbitant monthly utility bills.
Modernizing the thermal envelope of your property is a highly practical upgrade that pays for itself over time through continuous energy savings. Furthermore, updating the exterior face of the building with modern siding, fresh paint, and updated architectural features instantly elevates the neighborhood presence of your property. Balancing these functional efficiency upgrades with aesthetic improvements is the key to maximizing both the comfort and the market value of your real estate investment.
-
Assess the Thermal Envelope: Check the weatherstripping around all exterior doors and ensure your attic has adequate, modern insulation. A poorly insulated attic allows heated air to escape rapidly in the winter, forcing your HVAC system to work overtime.
-
Upgrade Exterior Aesthetics: A fresh coat of exterior paint, updated modern house numbers, and modern exterior lighting fixtures can completely transform the look of the property in a matter of days, providing a massive boost to its street-level appeal.
-
Invest in High-Quality Glass: If your property still features single-pane glass or drafty aluminum frames, prioritize modern window replacements. Upgrading to double or triple-pane, argon-filled, Low-E glass stops thermal transfer dead in its tracks, significantly lowers your heating and cooling costs, and provides an excellent barrier against exterior neighborhood noise.
Bringing It All Together for Your Ideal Sanctuary
Transforming a newly purchased property into a personalized, functional, and beautiful sanctuary is a journey that requires patience, strategic planning, and a willingness to invest in quality craftsmanship. By starting with a smooth, professionally assisted transition and methodically working your way through deep cleaning, exterior upkeep, moisture mitigation, and minor repairs, you establish a solid, healthy foundation. From there, tackling targeted interior upgrades and massive structural overhauls becomes a much more manageable and rewarding process.
Remember that creating your ideal environment is not a race. It is perfectly acceptable to space out these large projects over several years to protect your finances and preserve your peace of mind. By prioritizing the structural integrity and energy efficiency of the building first, and subsequently focusing on the aesthetic and layout transformations, you will ensure that your property remains a safe, highly efficient, and deeply comforting haven for you and your family for decades to come. Take the time to develop a prioritized maintenance and upgrade plan today, and enjoy the incredible process of watching your new house truly become your home.